Application deployment to JBoss
Learn how to deploy your WaveMaker app to JBoss server.
WaveMaker Apps can be exported as a WAR file. This generated file can be deployed to any standard Java Web Server running on JDK 1.8. This section walks through the steps to deploy WaveMaker app to JBoss - WildFly. For more infomation, see Deployment to Web Server.
Prerequisites
JBoss Server setup
- You need to configure JBoss server. Learn more.
Deployment has been tested on JBoss WildFly versions 11.0.0.CR1 and 10.1.0.Final.
- Login to JBoss server with valid username and password.
Start JBoss Server
- Navigate to
jboss-[version]jboss-[version]bin.- Windows: Double click on standalone.bat file to start JBoss server
- Linux: Double click on standalone.sh file to start JBoss server
- Open Browser and navigate to
http://localhost:9990as JBoss by default starts in 9990 port.
The Project sources zip/directory Export Project as zip from WaveMaker.
Preparing WAR File
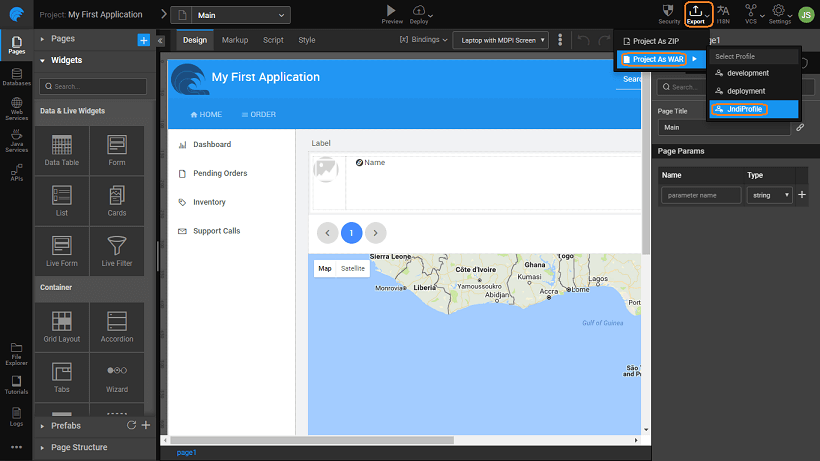
From WaveMaker Studio, for the app that you want to deploy to JBoss, Export the app as WAR file using the appropriate configurations. For more information, see Generate a WAR file.
Deploy to JBOSS Server
The screenshots from JBoss website were current at the time of documentation. The actual images might differ.
JBoss-WildFly
- Copy prepared war file into JBoss home dir\standalone\deployments
- Open JBoss terminal and check app deployment logs for deployment status
- Once success message is displayed in the terminal navigate to
http://localhost:8080/to view the deployed application.
Deploying Application that uses JNDI Datasource
Configure JNDI in JBOSS Server
Configuring JNDI for Oracle database server
- Navigate to folder
..\Jboss Home Directory\modules\system\layers\base\com. Create structure..\oracle\oracle\main. - Copy
ojdbc6-11.2.0.jarin the main directory. - Add following details to module.xml file (in main directory).
<module xmlns="urn:jboss:module:1.1" name="com.oracle.oracle">
    <properties>
        <property name="jboss.api" value="unsupported"/>
    </properties>
    <resources>
        <resource-root path="ojdbc6-11.2.0.jar"/>
        <!-- Insert resources here -->
    </resources>
    <dependencies>
        <module name="javax.api"/>
        <module name="javax.transaction.api"/>
        <module name="javax.servlet.api" optional="true"/>
    </dependencies>
</module>
- Open standalone.xml file in '..Jboss home directory\standalone\configuration'.
- Add following details in profile.
<subsystem xmlns="urn:jboss:domain:datasources:1.2">
    <datasources>
        <datasource jndi-name="java:/jdbc/oracle" pool-name="poolname" enabled="true" use-java-context="true">
            <connection-url>jdbc:oracle:thin:@//<host>:<port>/<SID></connection-url>
            <driver>oracledriver</driver>
            <security>
                <user-name>username</user-name>
                <password>password</password>
            </security>
        </datasource>
        <drivers>
            <driver name="oracledriver" module="com.oracle.oracle">
                <xa-datasource-class>oracle.jdbc.driver.OracleDriver</xa-datasource-class>
            </driver>
        </drivers>
    </datasources>
</subsystem>
Use JNDI name in the application using Config Profiles
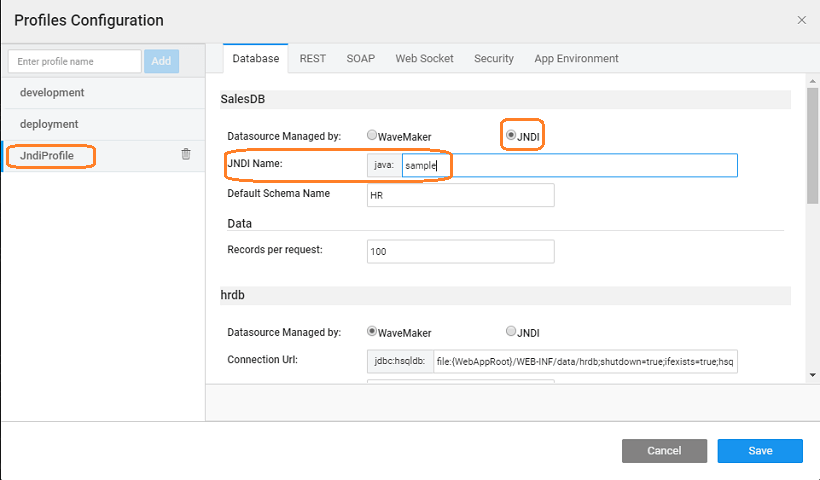
- Click on settings menu in project workspace and create a new profile.
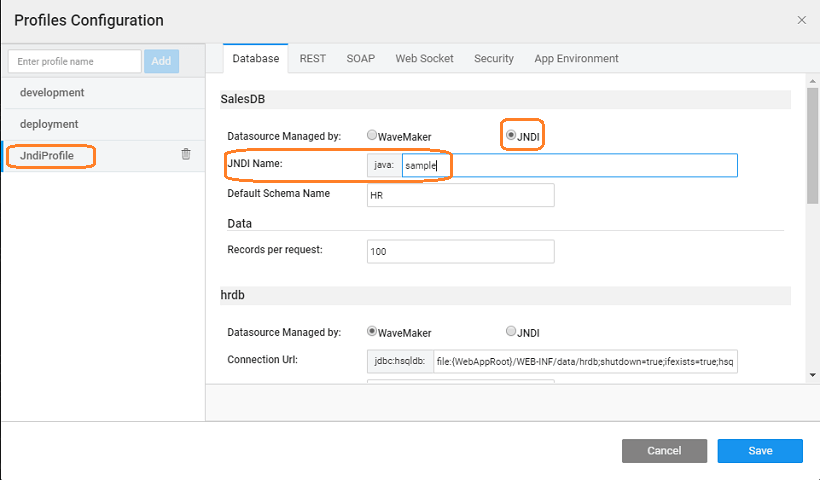
- Select datasource as JNDI and provide jndi name in the respective text box.
- Save profile and close settings.
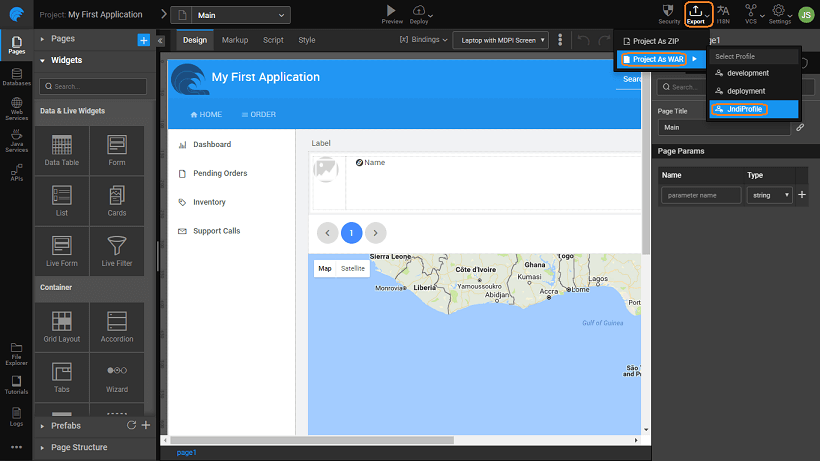
- Export war for the newly created profile.
- Save the war file
Troubleshooting
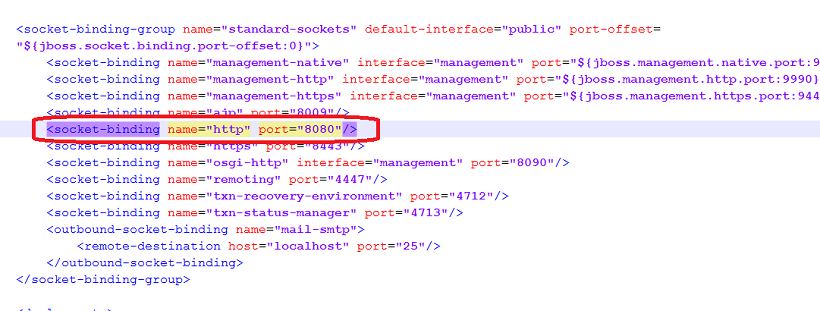
- To know on which port the application is being running open
\jboss-home-directory\standalone\configuration\standalone.xml- And search
<socket-binding name="http" - On this port the application will be running.
- And search
- To know on which port the application is being running open